 delishing
How to Elevate Box Cake: A Baker's Guide to Deliciousness

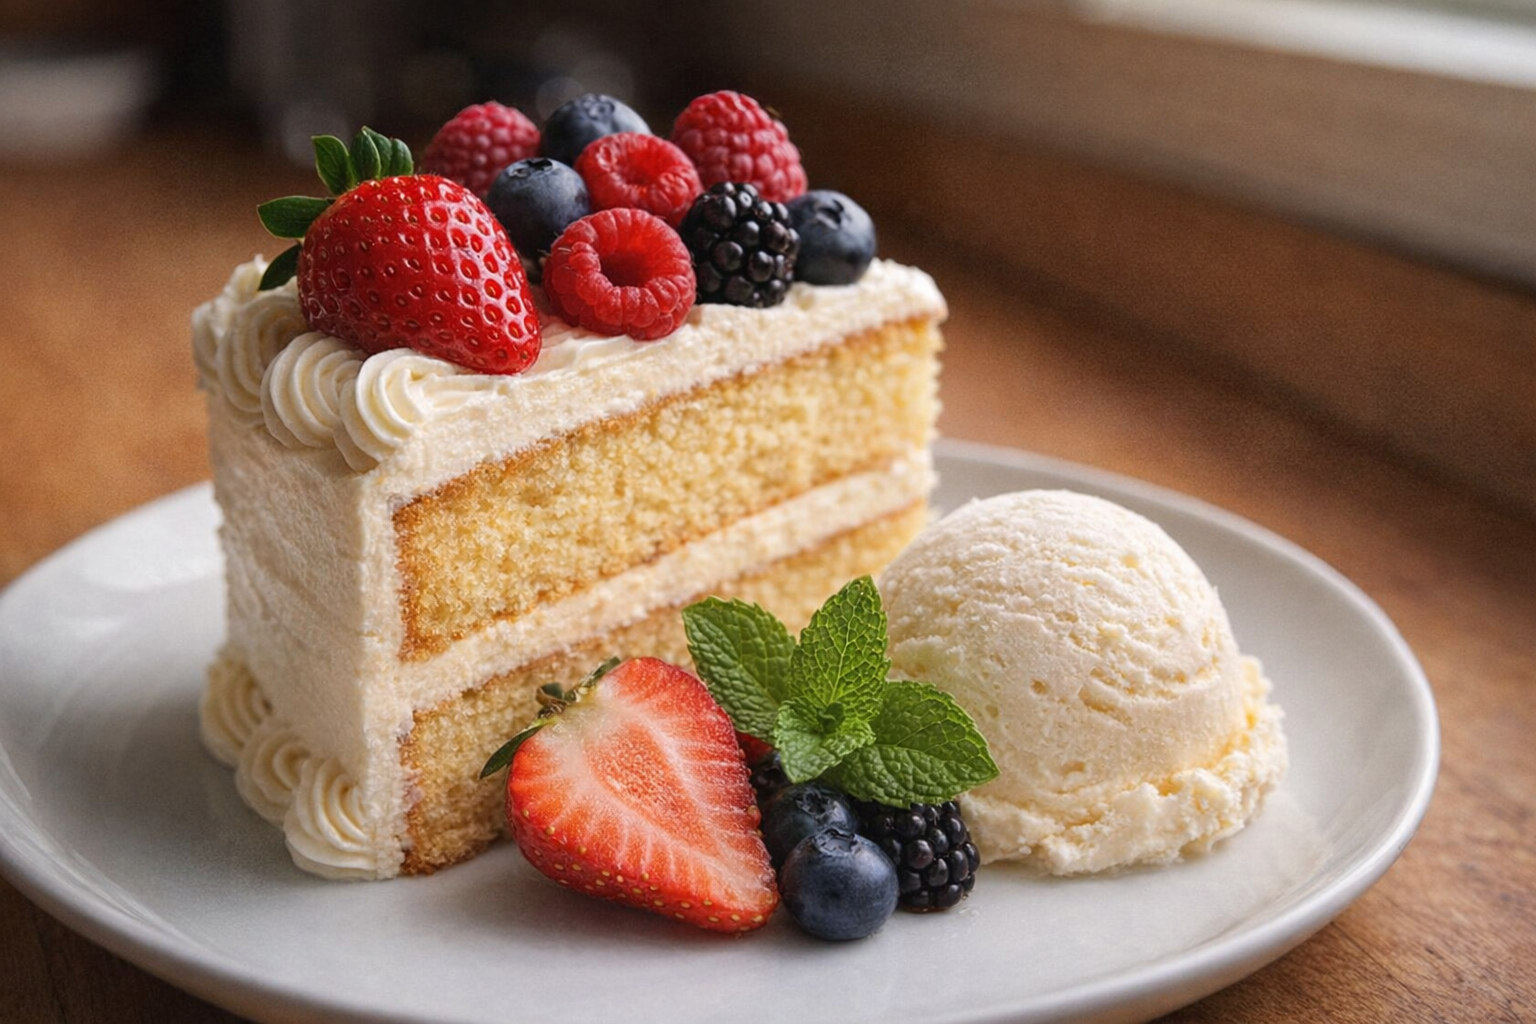
Box cake mixes offer convenience, but often lack the depth of flavor and texture of a scratch-made cake. This guide will equip you with the knowledge and techniques to transform a simple box mix into a moist, flavorful, and truly impressive dessert. We'll explore simple substitutions and additions that will elevate your box cake to bakery-worthy status.
Think of this process not as "cheating," but as "smart baking." By understanding the fundamentals of cake chemistry and using high-quality ingredients, you can consistently create cakes that taste like they came from a professional kitchen, even when starting with a mix. This is all about learning how to control the outcome and customize the flavor to your preferences.
Understanding Cake Mixes
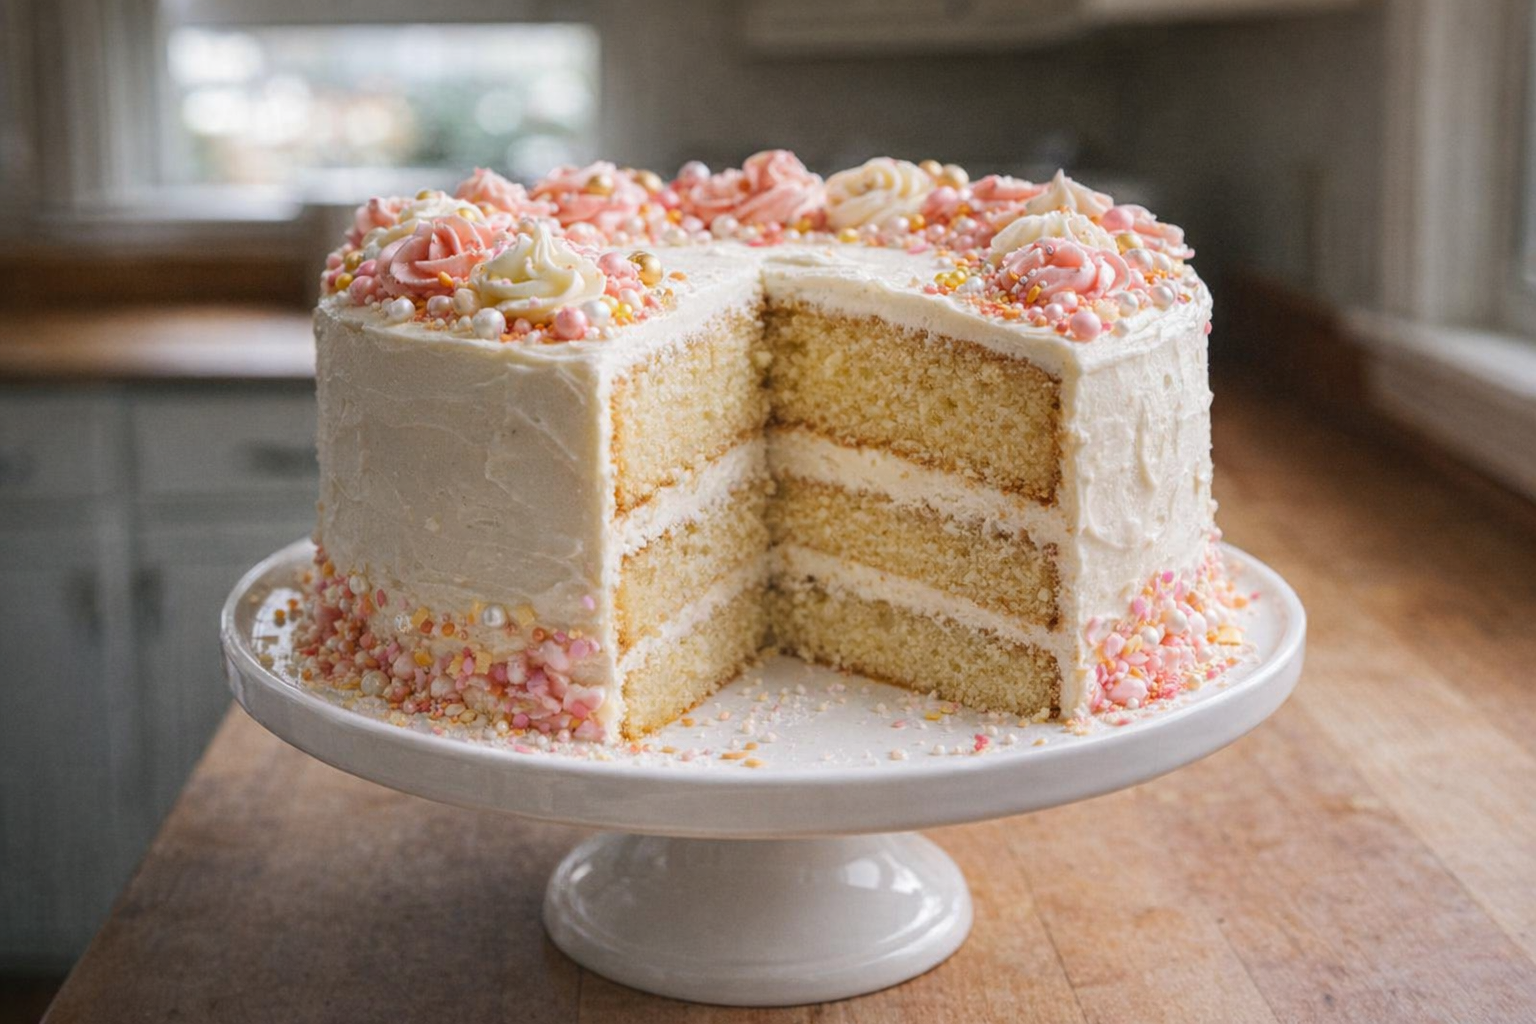
Cake mixes typically contain flour, sugar, leavening agents (baking powder or baking soda), and flavorings. The quality of these ingredients, particularly the flour and fat content, significantly impacts the final product. Some mixes use cheaper, less flavorful ingredients, resulting in a cake that is dry, bland, or has an artificial taste.
When selecting a box mix, consider opting for brands that advertise "premium" or "classic" formulas. These often contain higher-quality ingredients and a better balance of fat and sugar. Read the ingredient list; shorter lists with recognizable ingredients are generally a good sign. Don't be afraid to experiment with different brands to find one you prefer.
Why Elevate Your Box Cake?
- Versatility: A doctored box mix serves as a fantastic base for endless flavor combinations and creative cake designs.
- Flavor Enhancement: Simple additions can create a rich, complex flavor profile that rivals a homemade cake.
- Convenience: You get the speed of a box mix, with the flavor and quality of homemade.
Preparation (Mise en Place)
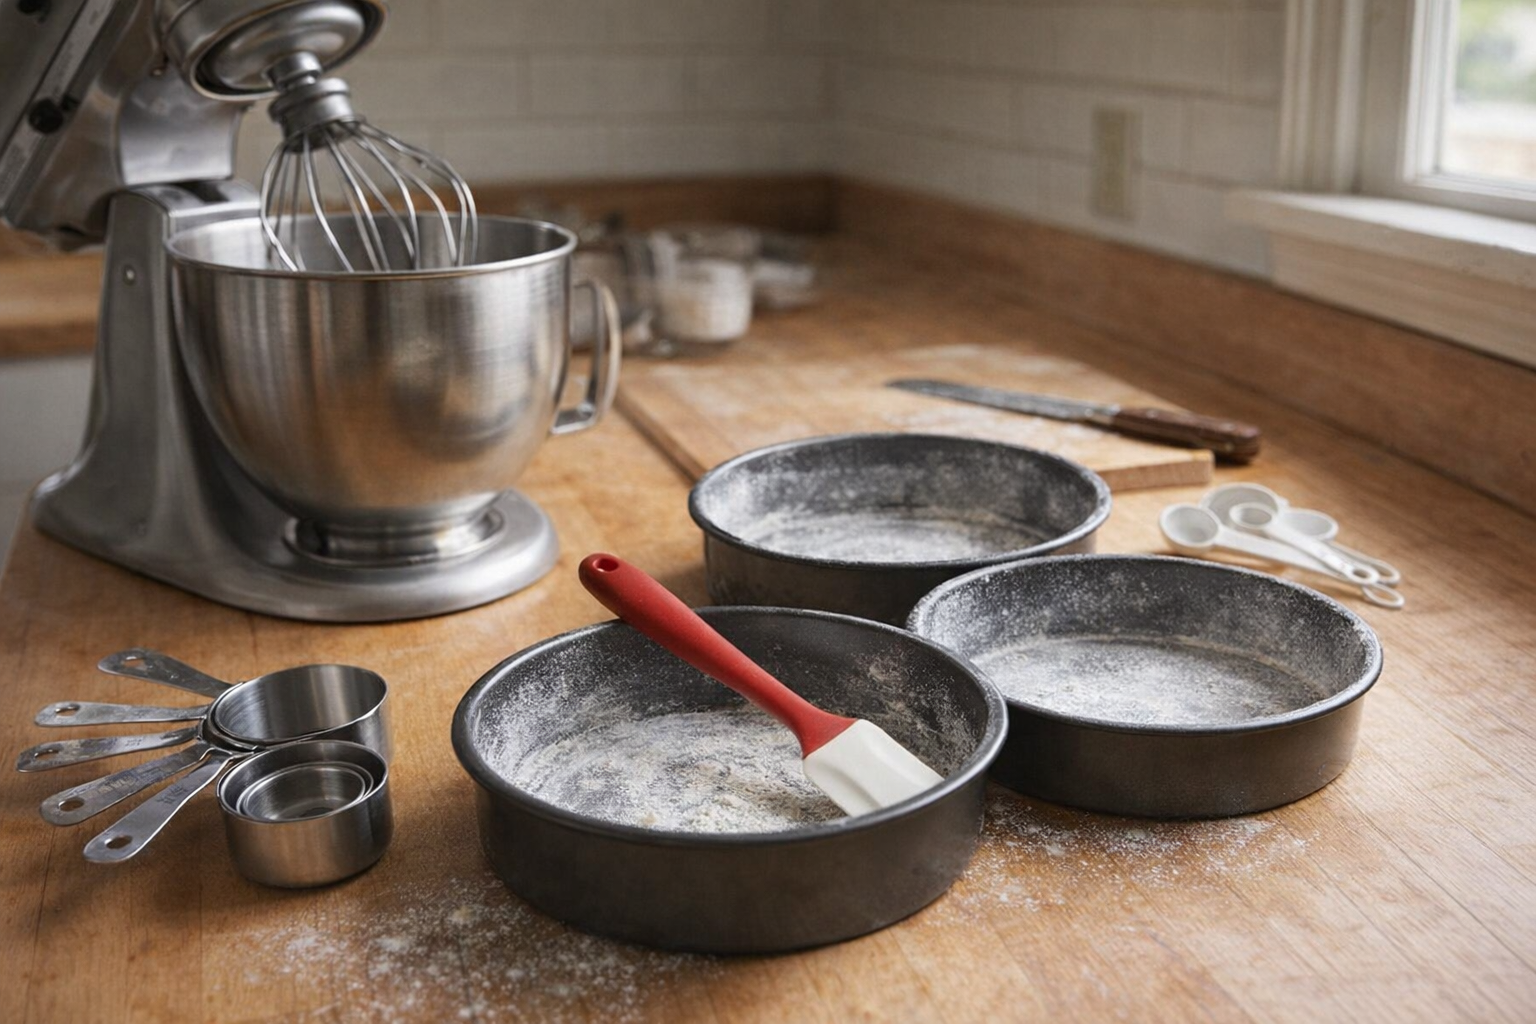
Before you begin, gather all your ingredients and tools. This will ensure a smooth and efficient baking process.
- Read the Box Instructions: Familiarize yourself with the base recipe on the box. This will provide a foundation for our modifications.
- Measure Accurately: Baking is a science. Use measuring cups and spoons, leveling off ingredients for precise results.
- Room Temperature Ingredients: Eggs, milk, and butter should be at room temperature for optimal emulsification and a smoother batter. Allow ingredients to sit at room temperature for at least 30 minutes before beginning.
- Prepare Your Pan: Grease and flour your cake pan(s) thoroughly to prevent sticking. For added insurance, line the bottom with parchment paper.
Essential Tools
- Stand Mixer or Hand Mixer: For efficient and consistent mixing. A stand mixer is preferred for larger batches.
- Mixing Bowls: Various sizes for wet and dry ingredients.
- Measuring Cups and Spoons: For accurate measurements.
- Rubber Spatula: For scraping down the sides of the bowl and folding ingredients.
- Cake Pans: Choose the correct size and shape for your recipe.
- Oven Thermometer: To ensure your oven is accurately heated.
The Cooking Method: Elevated Box Cake
Here, we'll focus on one primary method with numerous enhancements to elevate your box cake.
Enhanced Box Cake Method
Ingredients:
- 1 box (15.25 oz / 432g) cake mix (vanilla, chocolate, or flavor of choice)
- 3 large eggs
- 1 teaspoon vanilla extract
- ¼ cup (30g) sour cream or plain yogurt
- Optional: ¼ cup (30g) all-purpose flour (for a denser cake)
- Optional: ½ cup (85g) chocolate chips, nuts, or other additions
- Preheat and Prepare: Preheat your oven to 350°F (175°C). Grease and flour your cake pan(s).
- Combine Dry Ingredients: In a large mixing bowl, whisk together the cake mix and optional flour (if using). Ensure there are no lumps.
- Combine Wet Ingredients: In a separate bowl, whisk together the milk, melted butter, eggs, vanilla extract, and sour cream or yogurt. Whisk until smooth and well combined.
- Combine Wet and Dry: Gradually add the wet ingredients to the dry ingredients, mixing on low speed until just combined. Be careful not to overmix. Overmixing develops gluten, resulting in a tough cake.
- Add Optional Ingredients: Gently fold in any desired additions, such as chocolate chips or nuts.
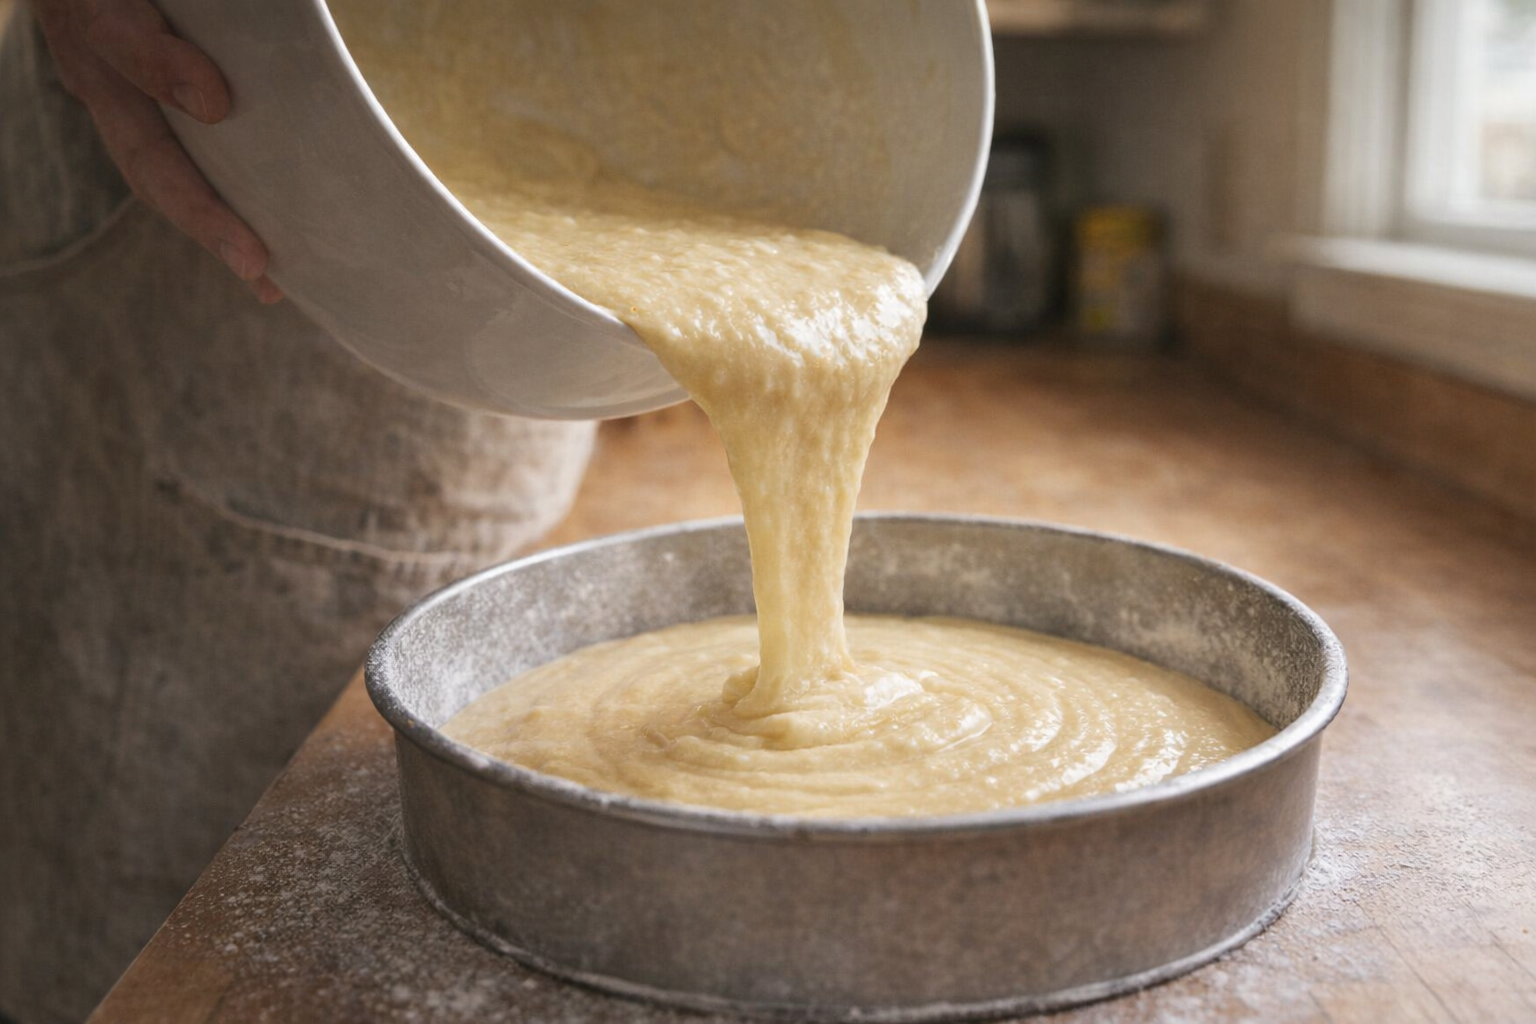
- Pour into Pan: Pour the batter into your prepared cake pan(s), spreading evenly.
- Bake: Bake for the time indicated on the box instructions, or until a wooden skewer inserted into the center comes out clean.
Cooking Time & Doneness Guide
- Baking Time: Follow the box instructions as a starting point. However, the actual baking time may vary depending on your oven and the size of your pan.
- Internal Temperature: The internal temperature of a cake should reach 210°F (99°C) when fully baked.
Visual Cues
The cake should be golden brown on top and pulling away slightly from the sides of the pan. Gently press the top of the cake; it should spring back lightly. If it leaves an indentation, it needs more time.
Tips for Perfection
- Don't Overmix: Overmixing leads to a tough cake. Mix until just combined.
- Oven Accuracy: Ensure your oven is accurately heated using an oven thermometer.
- Cool Completely: Allow the cake to cool in the pan for 10-15 minutes before inverting it onto a wire rack to cool completely before frosting.
- Even Baking: Use baking strips around the cake pans for even heat distribution and a level cake.
Storage & Reheating
- Storage: Store leftover cake in an airtight container at room temperature for up to 3 days or in the refrigerator for up to 5 days.
- Reheating: Reheating is not typically necessary. However, individual slices can be warmed in the microwave for a few seconds for a softer texture.
Serving Suggestions
- Classic Frosting: Pair with your favorite buttercream, cream cheese, or chocolate frosting.
- Fruit Compote: Serve with a warm fruit compote for added moisture and flavor.
- Ice Cream: A scoop of vanilla ice cream complements most cake flavors perfectly.
- Coffee or Tea: Enjoy a slice with a cup of coffee or tea for a comforting treat.
💡 Pro Tips
- Replace the water called for on the box with whole milk or buttermilk to achieve a richer flavor and more tender texture.
- Swap the vegetable oil for an equal amount of melted unsalted butter to give the cake a decadent, scratch-made taste.
- Add one extra egg than the recipe requires to increase the cake's moisture and improve its overall structure.
- Stir in a teaspoon of pure vanilla extract or a pinch of salt to enhance the existing flavors and reduce the boxed mix's sweetness.
- Sift the dry cake mix before adding wet ingredients to remove lumps and ensure a perfectly smooth, airy batter.
Frequently Asked Questions
While room temperature ingredients are ideal for emulsification, you can speed up the process. Place eggs in a bowl of warm (not hot) water for 5-10 minutes, and microwave butter in 5-second intervals until slightly softened, but not melted.
Yes, you can! Oil will generally result in a moister cake than butter. Use an equal amount of oil as the melted butter called for in the box instructions, and consider using a neutral-flavored oil like vegetable or canola oil to avoid overpowering the cake's flavor.
For extra insurance against sticking, use baking spray that contains flour, or grease the pan with shortening and then dust with flour, tapping out any excess. Lining the bottom of the pan with a parchment paper circle is also a great way to ensure easy removal.
The best way to check for doneness is to insert a toothpick into the center of the cake. If it comes out clean or with a few moist crumbs attached, the cake is done. You can also gently press the top of the cake; it should spring back slightly when it's ready.